Usage Guide - .beast FileGenerator
Content
Introduction
All parameters, inputs (and results) of a scenario are packaged in a file with the extension .beast. Using a standard unpackaging tool (e.g., 7-zip) a .beast file (located in folder inputs by default) can be unpackaged to get access to the input and parameter files.
This mechanism opens the possiblity to change all inputs and parameters (also those that are not accessible via the GUI). For example, base yield values for each field can be updated. Furthermore, data for new research areas can be packaged with the .beast FileGenerator.
Create .beast file
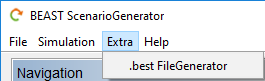
To create a .beast file from new or modified input and/or parameter files the .beast FileGenerator is supplied. It can be found in the menu of the BEAST ScenarioGenerator in menu item Extra.
In the .beast FileGenerator an input and a output path has to be given. The input path is a folder path where the input and parameter files are located. The output path is a path to a file of the new .beast file. Attention: existing files are replaced without any warning. Do not overwrite the basic .beast file in folder inputs. Paths can be given with relative or absolute paths. Pushing button "Create file" generates the new .beast file.
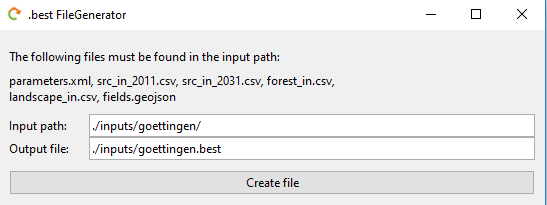
Following files have to be located in the input path:
- parameters.xml
- src_in_2011.csv
- src_in_2031.csv
- forest_in.csv
- landscape_in.csv
- fields.geojson
Load .beast file
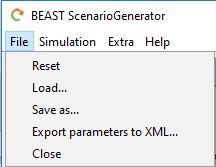
After file generation it can be used in the BEAST ScenarioGenerator via the menu File > Load....
Add new .beast file to Region selection
To add a new .beast file to the drop down list of available regions it can be added to the list in file conf/conf.xml following this pattern:
<entry>
	<key>Region name</key>
	<value>./pathToBEASTFile/regionname.beast</value>
</entry>